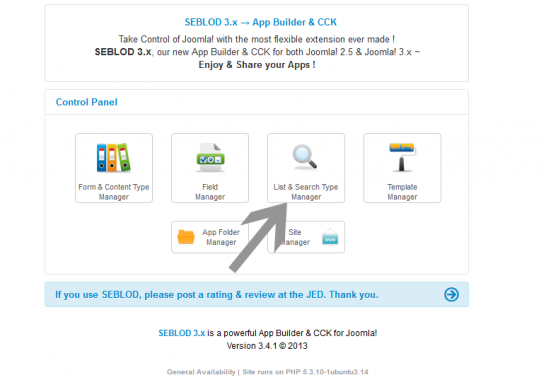
 First, open the List & Search Type Manager.
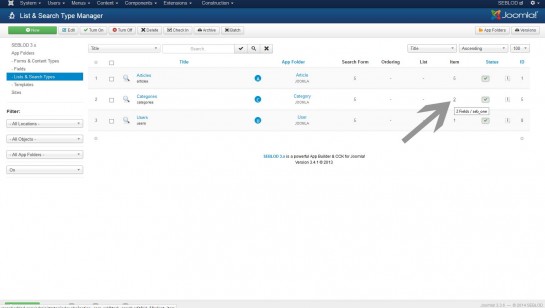 Navigate directly to the "item" view of the list by clicking on the number that corresponds with the Categories List Type in the Item View column.
Dans ce manuel, nous allons examiner l'attribution des champs à la liste de catégories Joomla!. Ces champs apparaîtront pour chacun des éléments de contenu dans notre liste.
Tout d’abord, ouvrez "List & Search Type Manager".
Accédez directement à la vue "item" de la liste en cliquant sur le numéro qui correspond avec "Categories List Type" dans la colonne "Item View".
Verrouillez la touche 'ctrl' et sélectionnez les trois champs personnalisés sur la droite. Puis cliquez sur la flèche pointant vers la gauche "assign fields" pour les ajouter à la vue d'élément.
Lorsque vous avez ajouté vos champs, cliquez sur "save and close". Si vous avez ajouté du contenu à vos catégories en utilisant ces champs, vos champs personnalisés seront désormais visibles sur le front-end de votre site web pour chaque article sur votre page de liste de catégories.